This guide walks you through the process of caching using the Redis Cache tool in Warewolf.
For this example, we will be caching outputs generated from the SQL Server Database tool. This will be cached for 60 seconds. We will use a variable generated from the inputs of the workflow as the key used to cache the data.
Getting Started
Create a Redis Docker Container
Docker Redis Url: https://hub.docker.com/_/redis/
Docker Command: Pull Request: docker pull redis
Follow these simple steps below:
1.Click New to create a new workflow.
![]()
2. Drag and drop the Assign Tool onto the design surface.
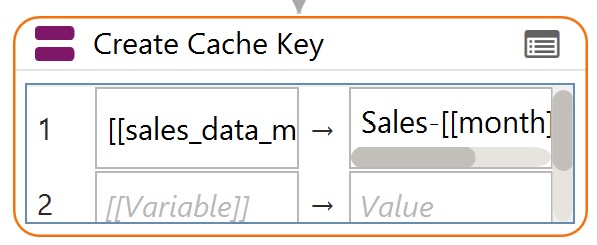
Add a variable [[sales_data_month]]
Assign Sales-[[month]][[year]] to the [[sales_data_month]] variable.
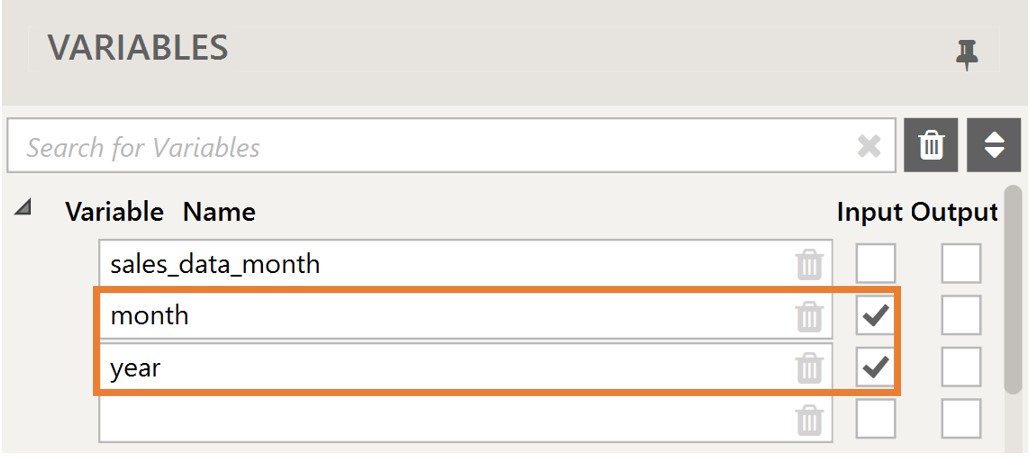
3. Mark [[month]] and [[year]] as Input. These are the parameters required for the stored procedure used later in the example.
 4. Search for the Redis in the Tool Box.
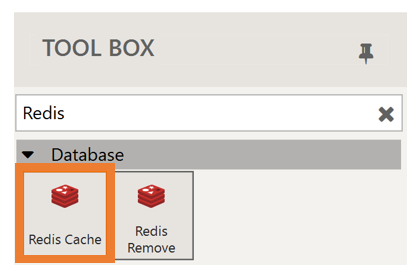
5.Drag and drop the Redis Cache onto the design surface. The tool will open in large view.
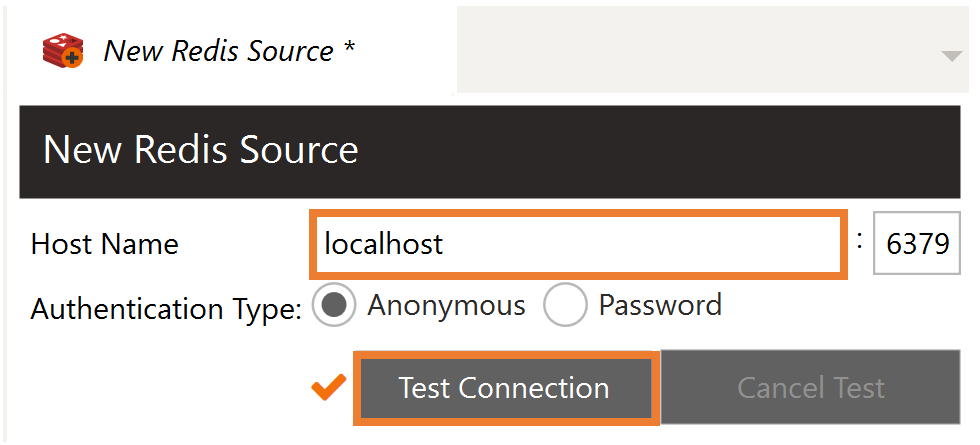
6. If you have not already configured your data source, Click New.
7. Add your Host Name, click Test Connection.
For more information on creating a new Redis Source check out Adding a New Redis Source
8. Click Save in the menu on the left. In the popup dialog, name your Redis Source and Save.
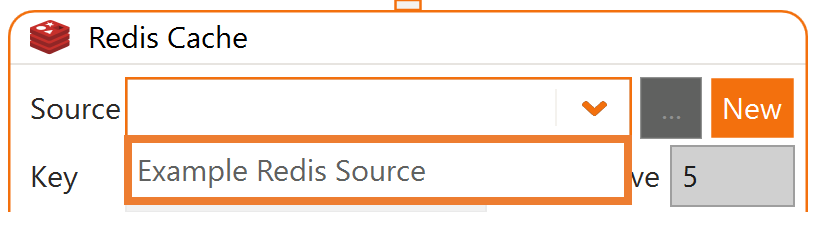
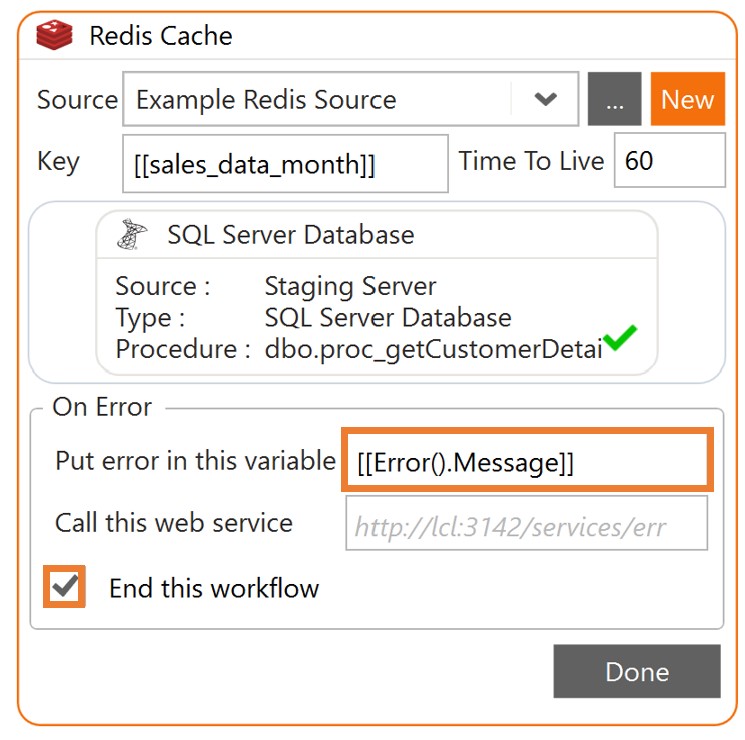
9. Go back to your original workflow. Double click on the Redis Cache to open it in large view.
From the Source, select the Source that you want to connect to. In this example we connect to an Example Redis Source.
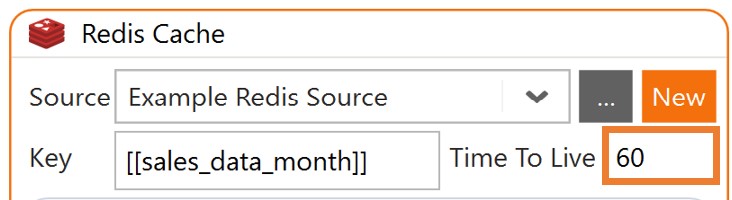
10. Once you have selected your Redis Source, enter the key. For this example we are using the variable [[sales_data_month]] created in the Assign tool earlier.

11. The Time To Live will default to 5 seconds. If you want to change this then enter a new Time To Live.
12. Drag and drop the SQL Server Database tool into the Drop Activity Here section. It will open in a large view. Configure the tool to execute the stored procedure that will return the data you would like to cache.
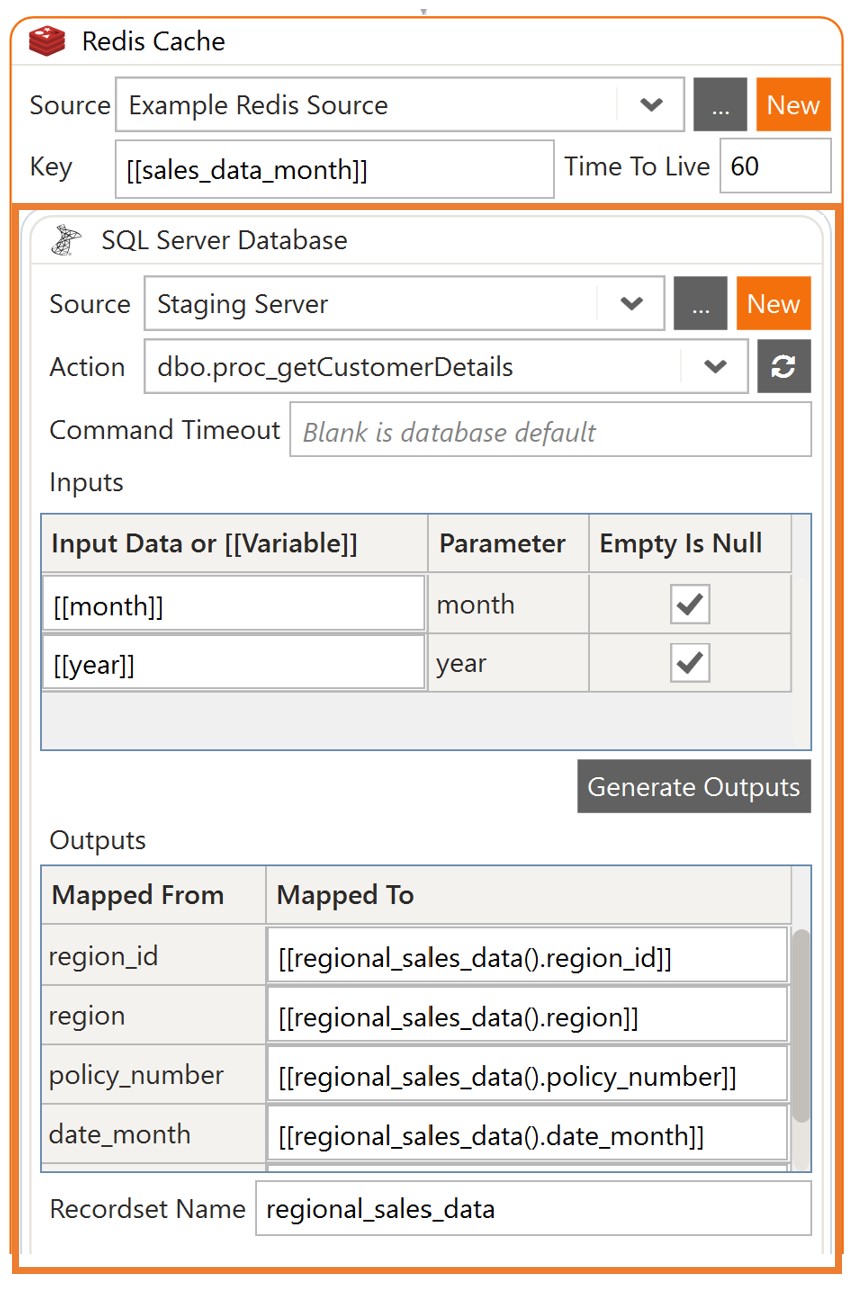
13. Click Done.
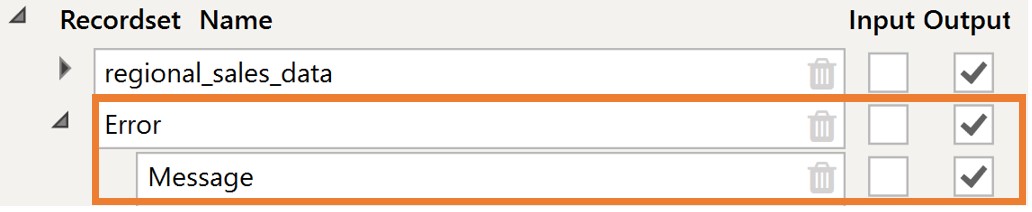
You will notice the recordset generated from the outputs of the added SQL Server Database tool is now displayed in the Variables List.

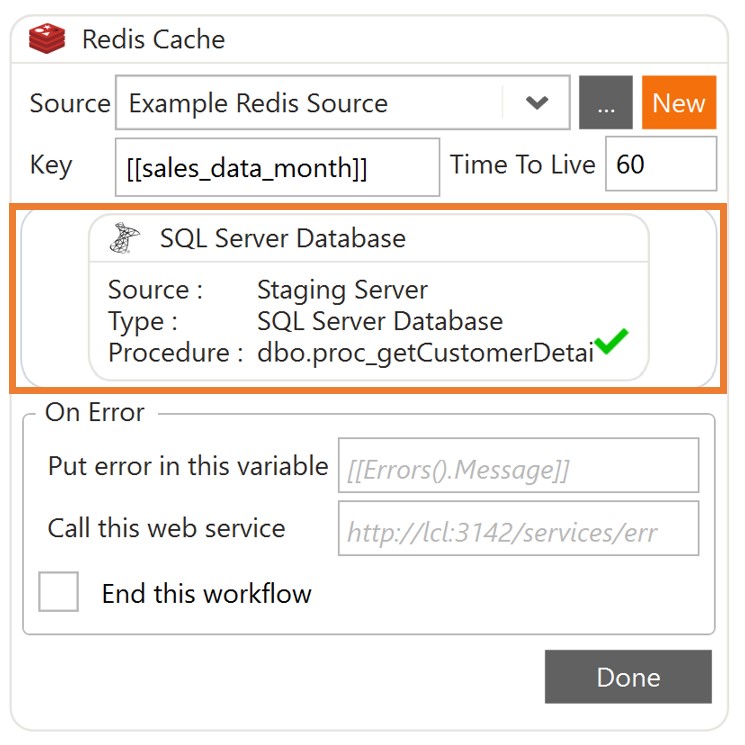
14. Add in the Error recordset [[Error().Message]]. Errors returned from the Redis Cache will be written into this recordset.
To end the workflow, if an error has occurred at this point, make sure the End this workflow checkbox is selected.
Click Done.
 15. In the Variables list, select the Errors recordset as outputs.
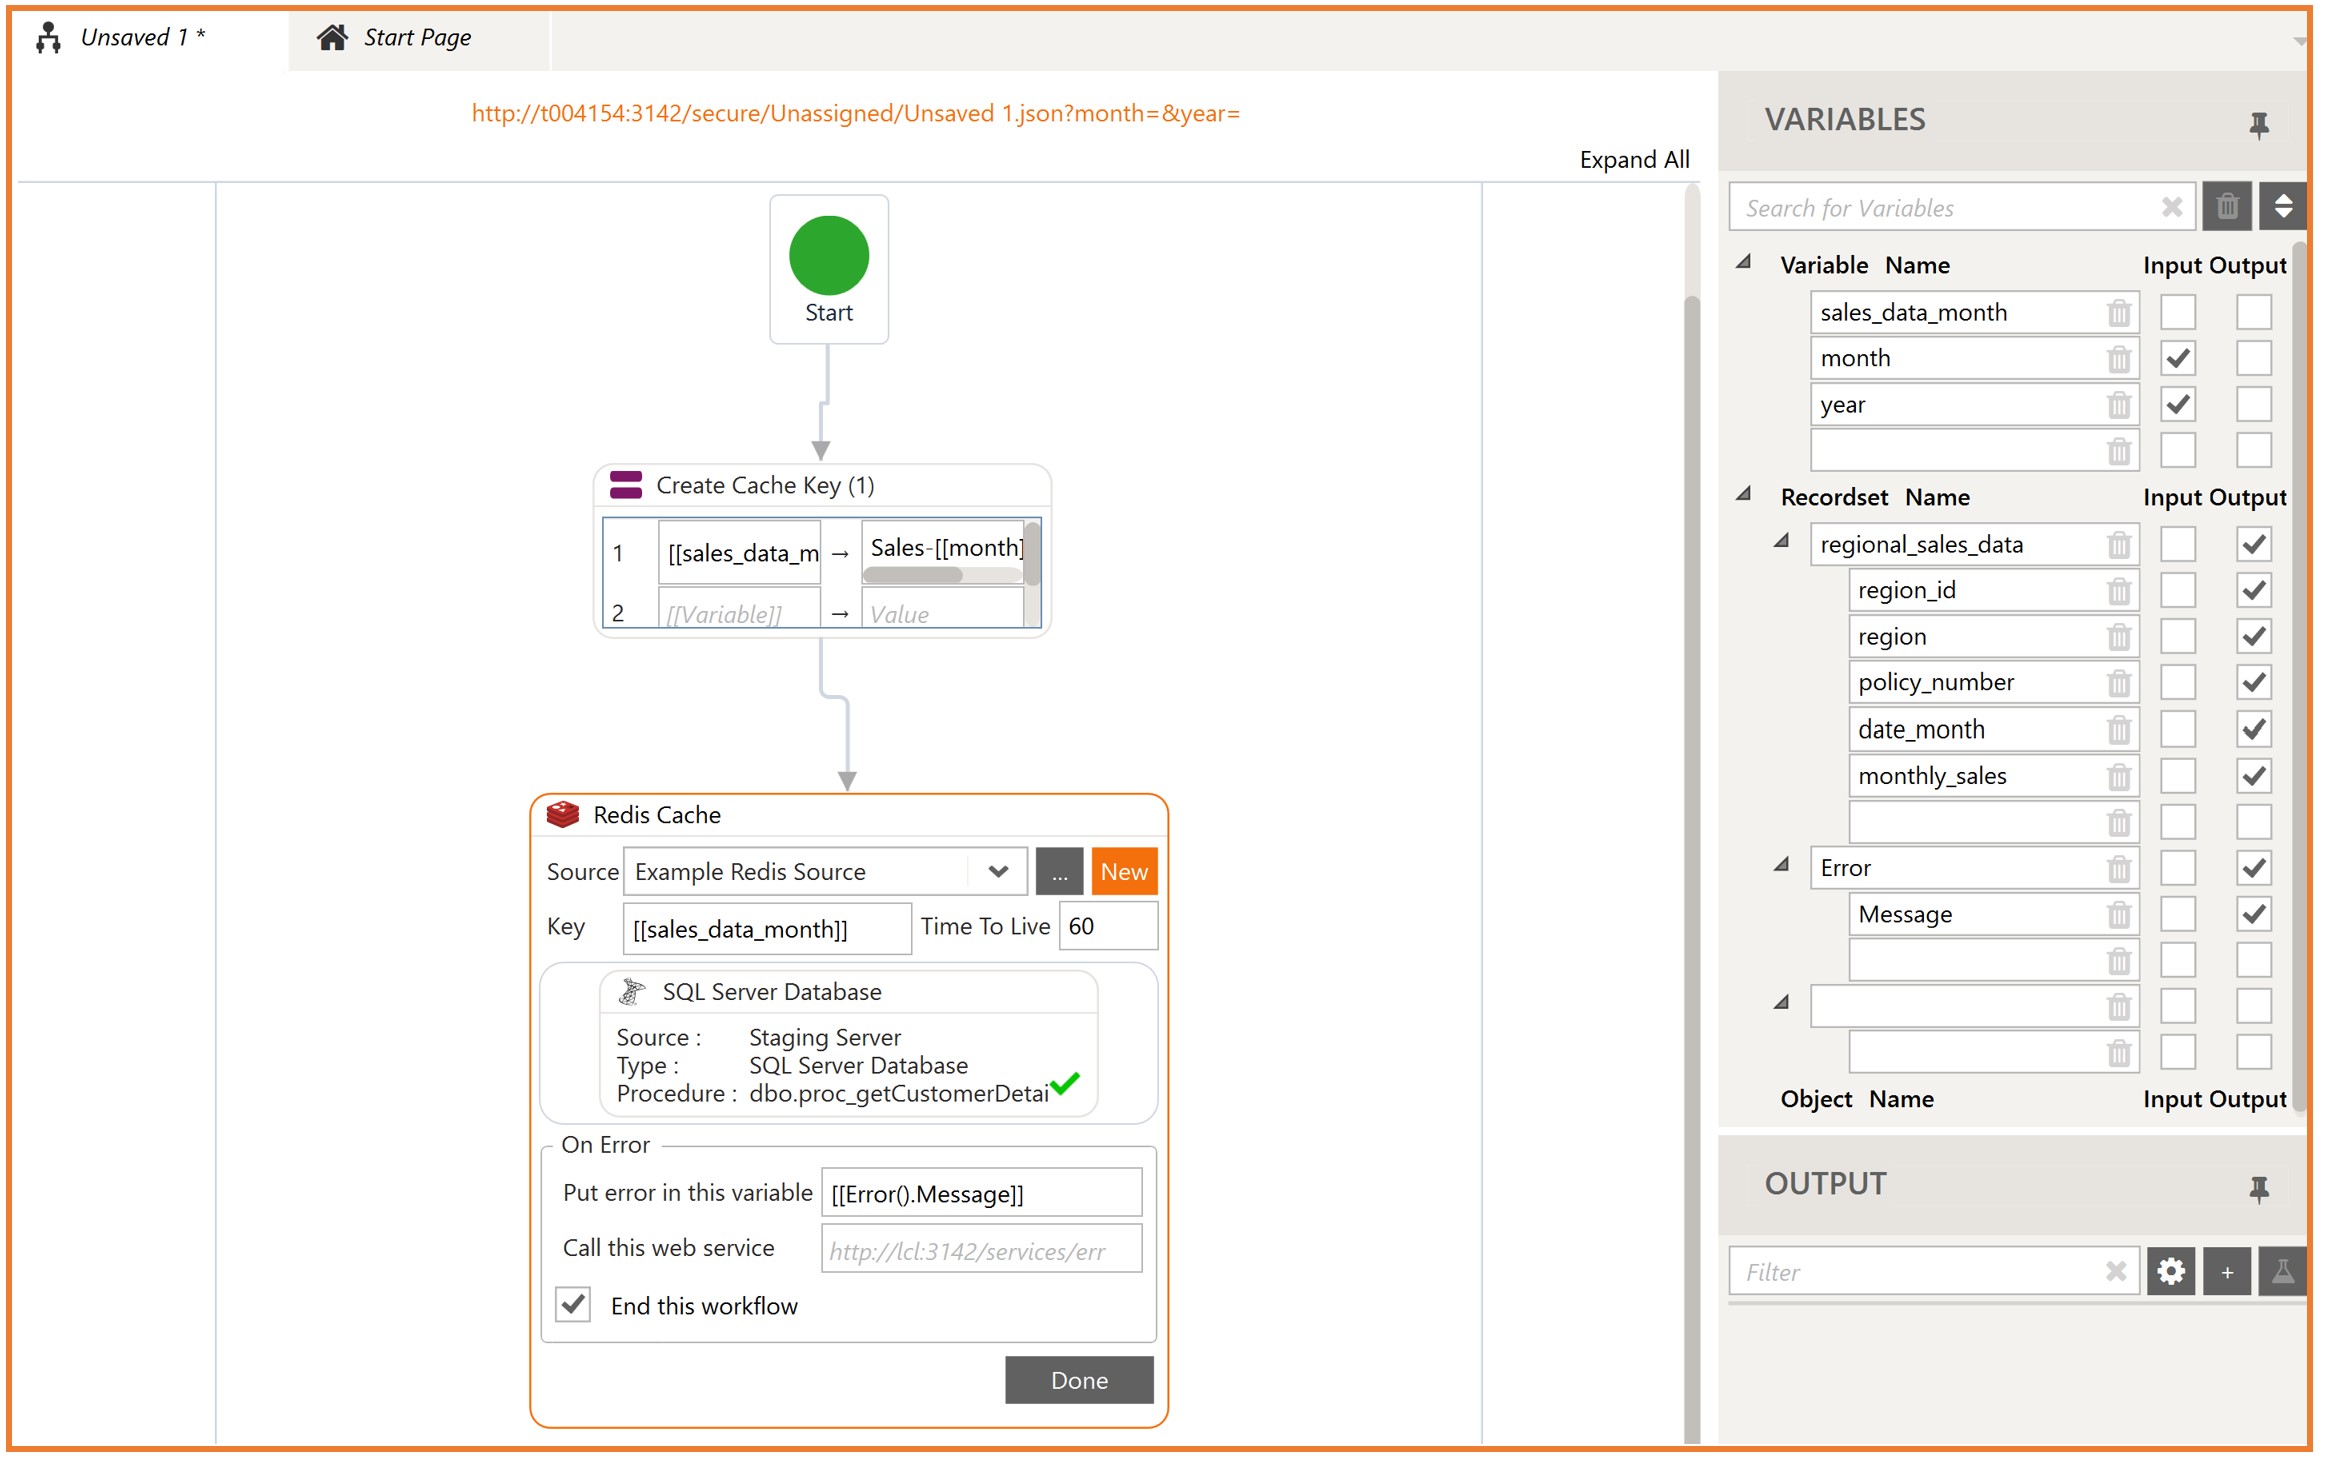
 16. When you have configured the Redis Cache Tool, Click Done. It will now look like this:
17. Click Save. Name your Workflow and save.
18. Execute the Workflow by clicking F5. Enter values for the debug Inputs [[month]] and [[year]] configured in Step 3. You will then see the following in the Outputs window.
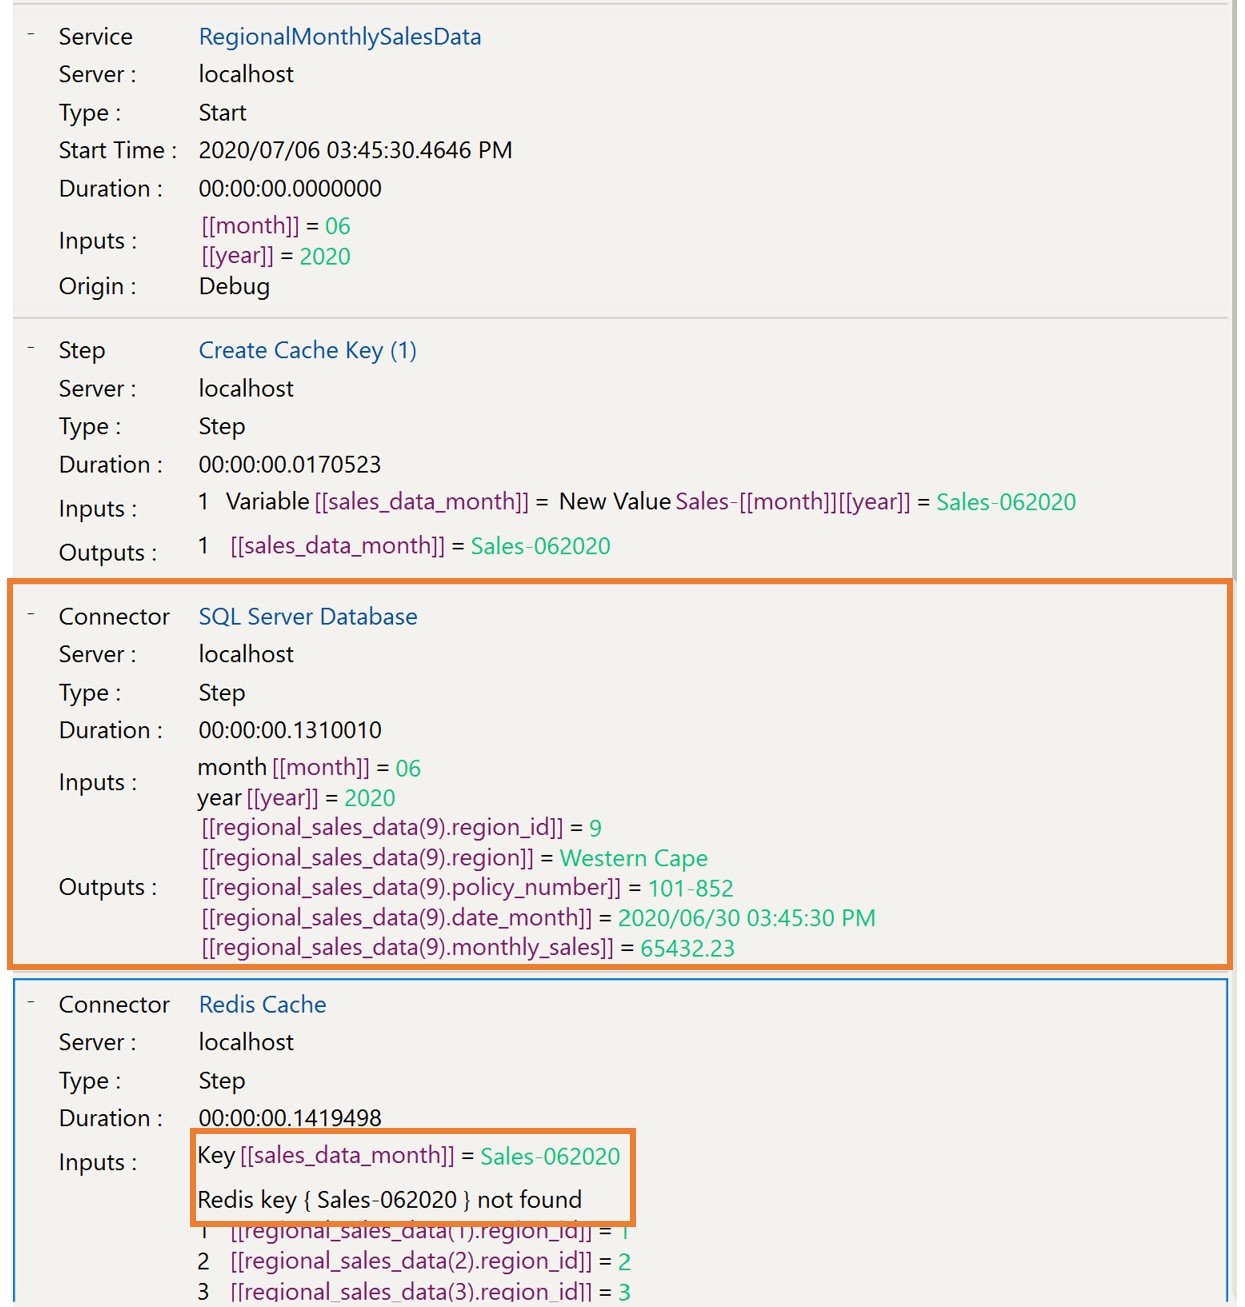
You will notice the SQL Server Database Tool has executed with an output recordset of [[regional_sales_data(*)]]
In the Redis Cache you will see that the key Sales-062020 was not found so [[regional_sales_data(*)]] was saved into the newly created key Sales-062020.
19. Execute the workflow again but be sure to execute it within the Time To Live.
If you set 60 seconds, execute within 60 seconds.
The outputs will now have this:
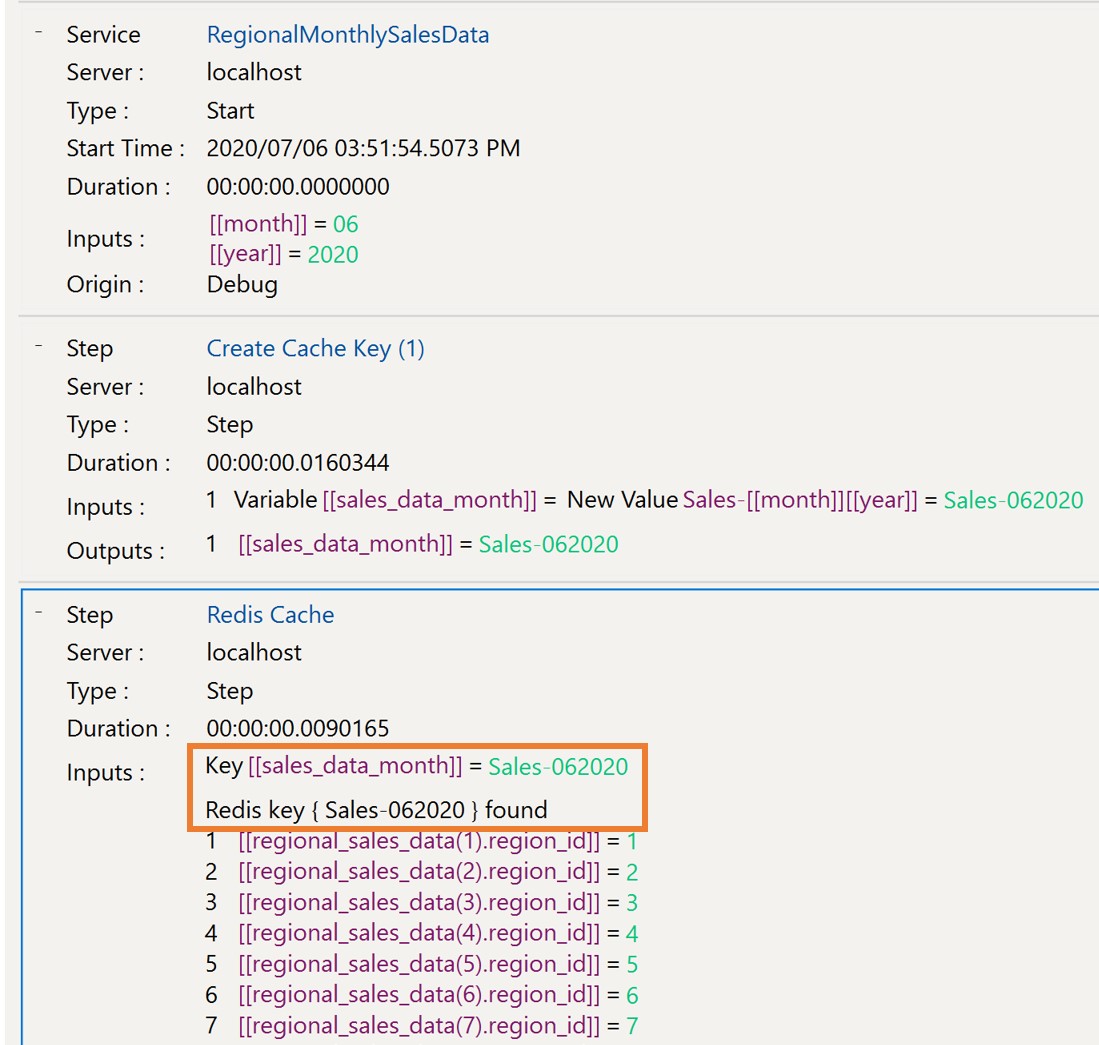
You will notice it no longer displays the SQL Server Database execution, instead it has
pulled the cached data from the Redis Cache using the key Sales–062020.