This example explains how to create a new RabbitMQ Source in Warewolf.
Follow the steps below:
- Inside the Studio, right-click on localhost (Connected) in the Explorer, click on Sources and select New RabbitMQ Source from the list.

- Add Host Name

- Add your Username and Password
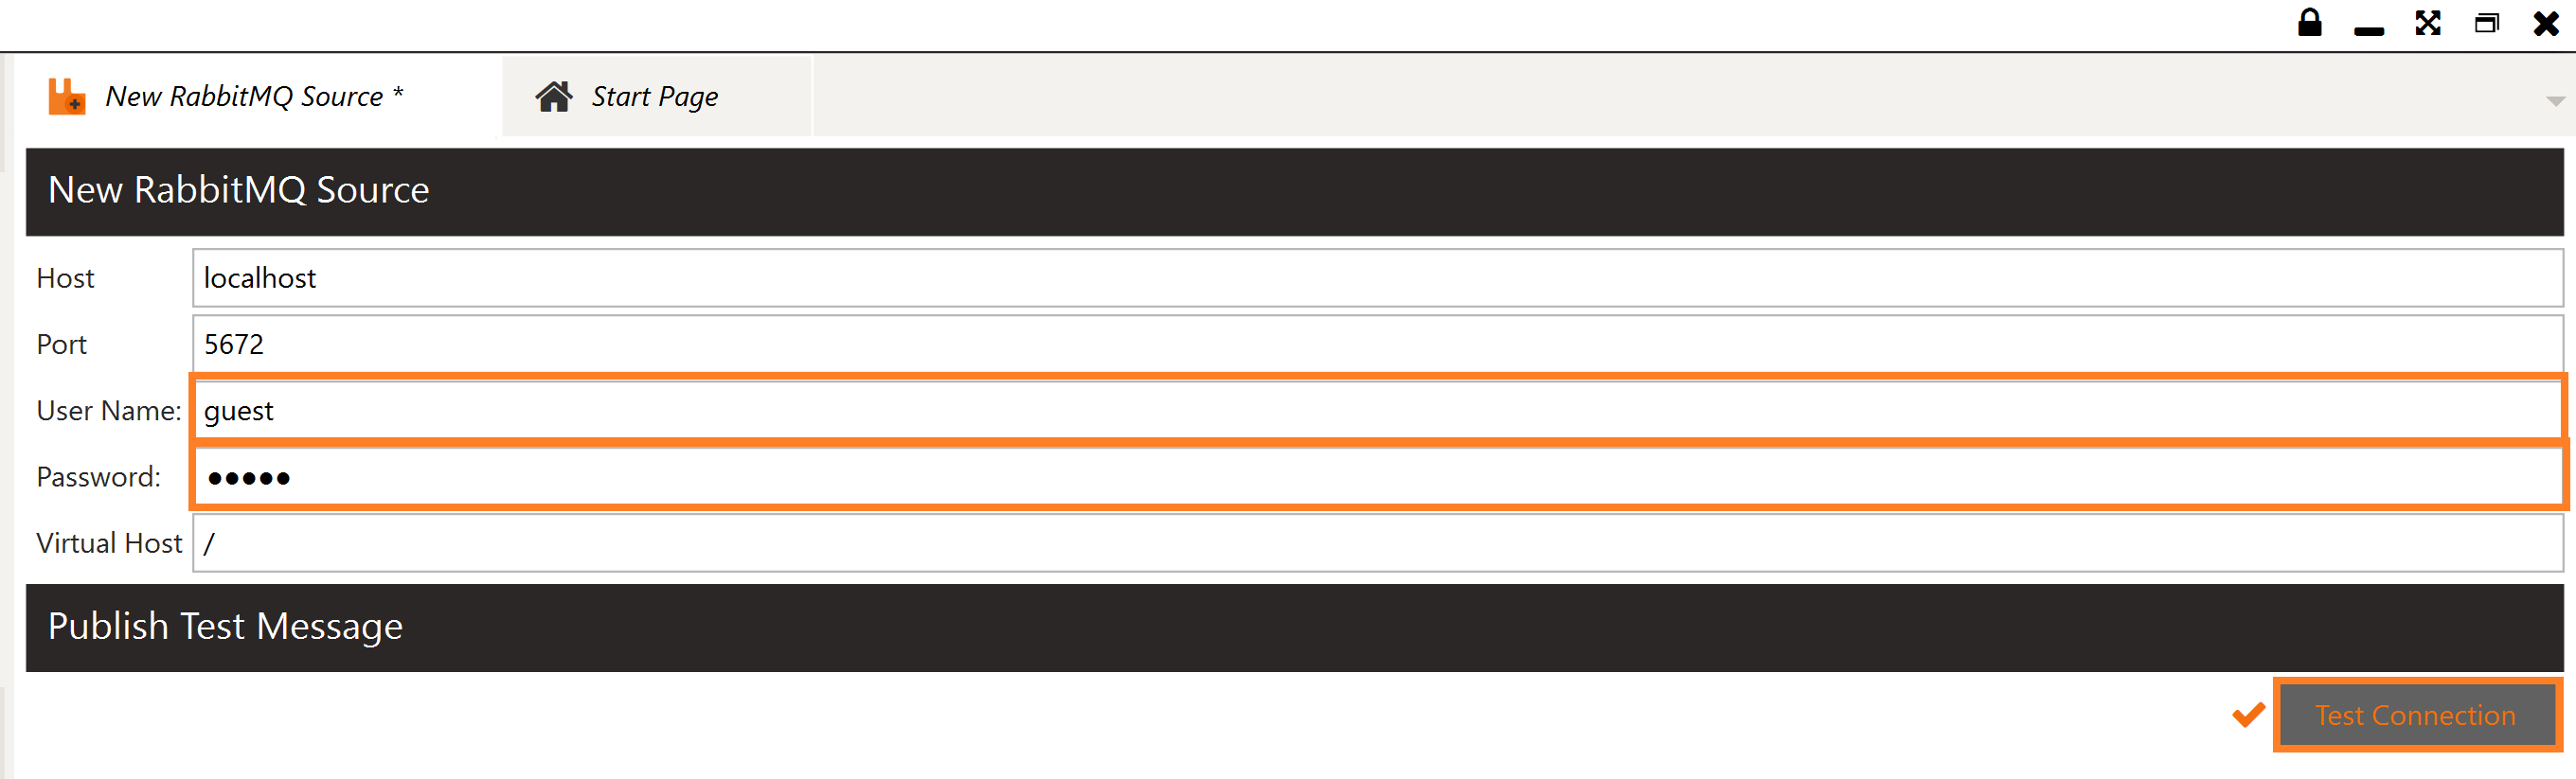 Click Test Connection you will get a tick on success or an error will be displayed.
 - Click Save in the menu on the left. In the pop-up dialog, name your RabbitMQ Source and Save.