Warewolf has many database connectors, which makes integrating with Warewolf effortless and efficient. In this blog we are going to bring you step by step instructions on how to download and setup MySQL for Warewolf.
To Download and Install MySQL for Windows, the simplest and recommended method is to download the MySQL Installer and let it install and configure all of the MySQL products on your system.
Installing MySQL
Step 1: Click on the link to download the MySQL Installer.
http://dev.mysql.com/downloads/installer/
Step 2:
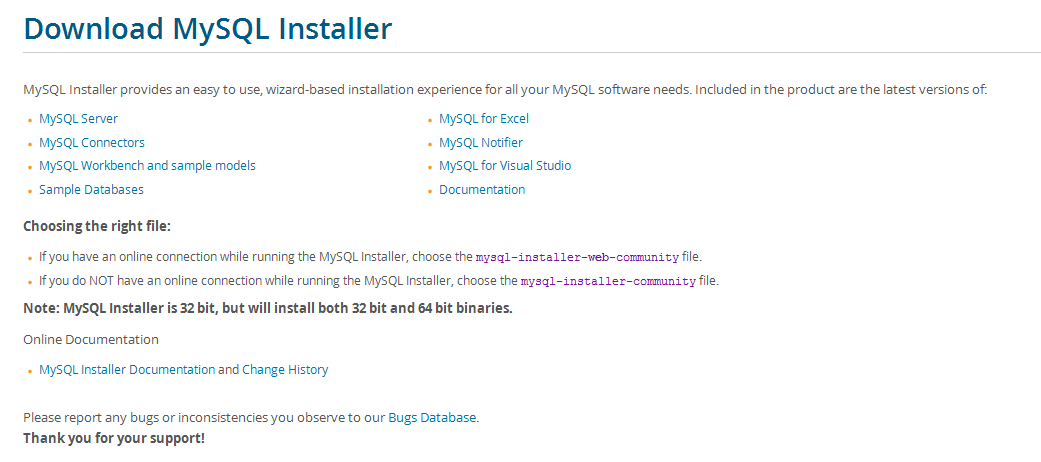
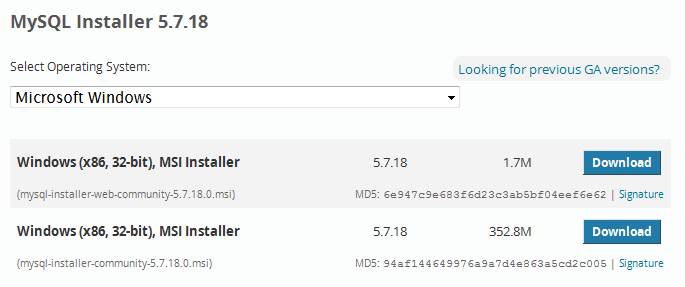
- If you have an active online connection while running the MySQL Installer, choose mysql-installer-web-community file and click download.
- If you do not have an online connection while running the MySQL Installer, choose the myslq-installer-community file and click download.
Step 3: To begin your download you will be prompted to Login or Sign Up to MySQL. If you have already have an account, add in your credentials and login, or skip this step this and click “No Thanks, just start my download”.

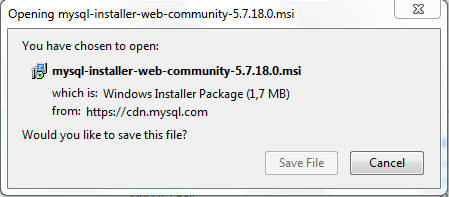
Step 4: Click Save, select the location in which you want to save the File and click Save again.
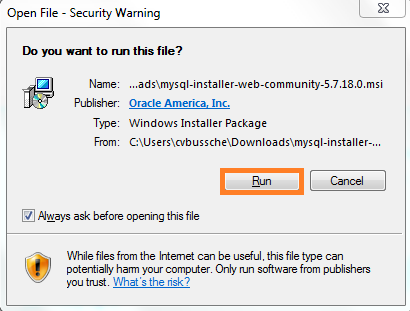
Step 5: Select the MySQL installer from the Folder in which you saved it, and double click to start the installer.
Step 6: When the file opens, click Run.
Step 7: Follow the MySQL Installer Wizard.
Click in the check box to accept the license terms and click Next.

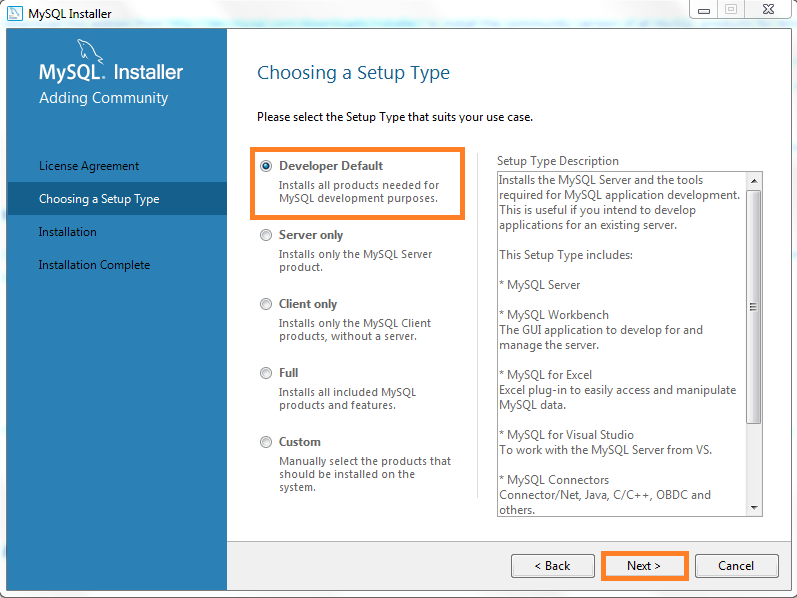
Step 8: Select your setup type. For the purpose of this blog, we will leave the Default Developer as the setup type and click Next.
Step 9: Once you have selected your Setup Type, the installer will check the requirements needed to run MySQL. These will need to be resolved prior to installing MySQL. Click Next.

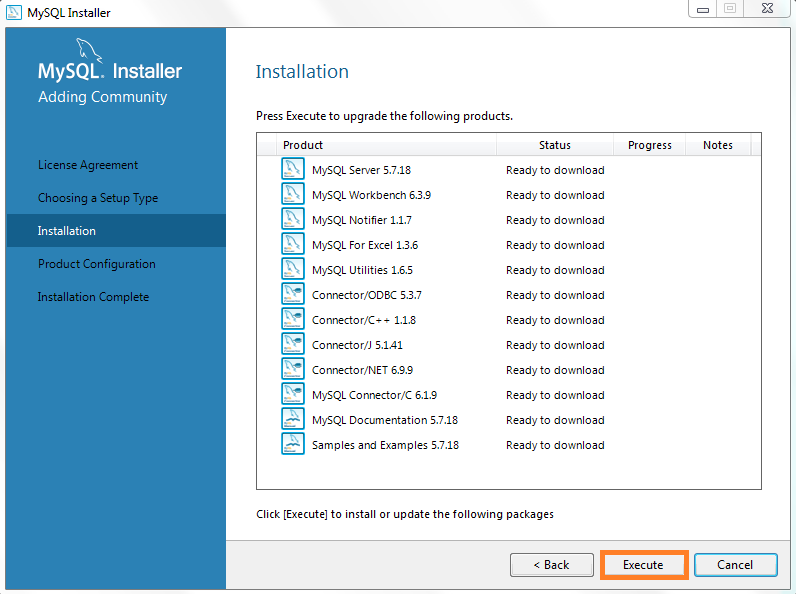
Step 10: Click Execute.
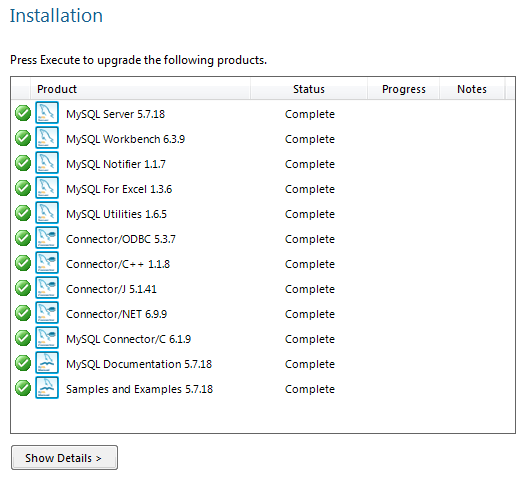
When the installation is complete and ready to be configured, the status will change to complete and a green indicator will appear on the left, as shown in the screenshot below.
Click Next.
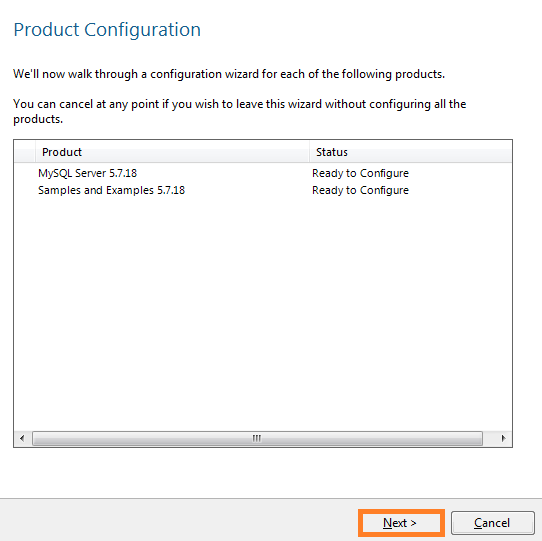
Step 11: Click Next to configure your MySQL Server.
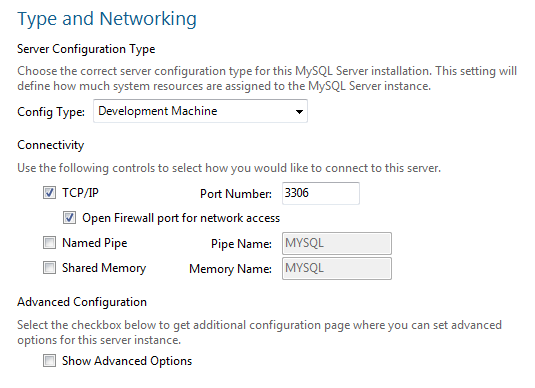
Step 12: Setup your Server Configuration Type and Connectivity and Click Next.
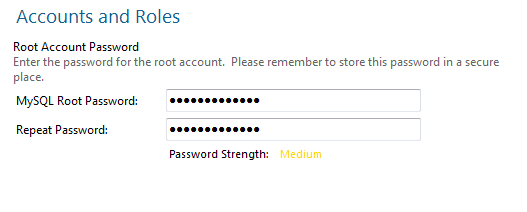
Step 13: Enter a MySQL Root Password.
Step 14: Create a MySQL account for your users and applications.
Click Add User. Specify the Username, Database Role and set the Password.
Click OK.
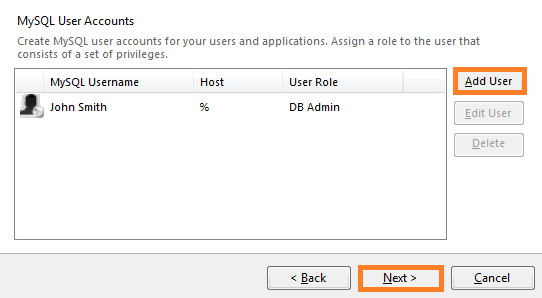
Click Next to move on to the next step.
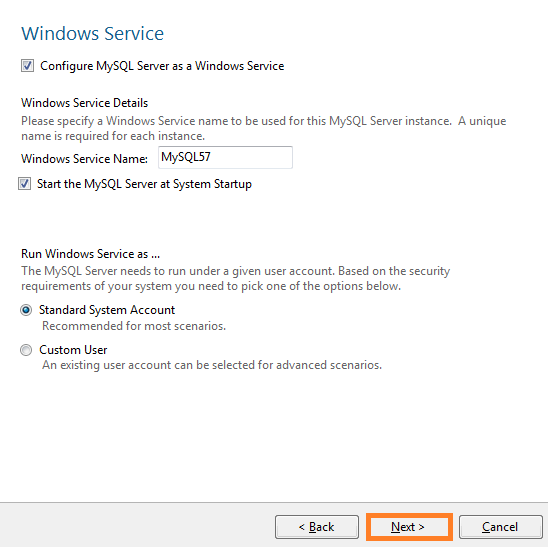
Step 15: Configure MySQL Server as a Windows Service to your specific needs and click Next.
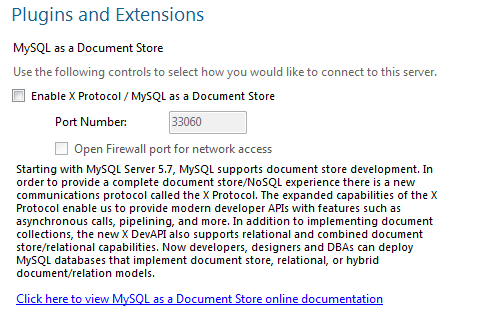
Step 16: You can now select how you would like to connect to the server using the Plugins and Extension Settings. Once you have set this up, click Next.
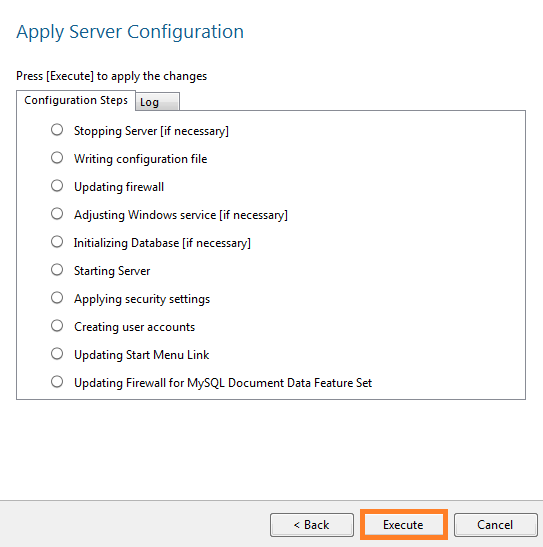
Step 17: To apply the configurations, Click Execute.
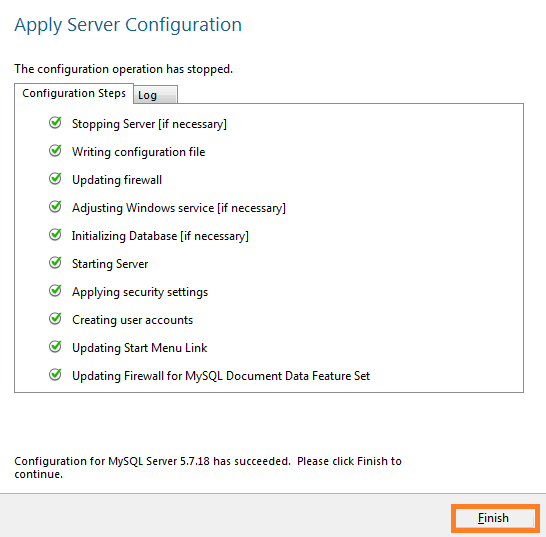
Step 18: Once your Configurations have executed, click Finish.
You can continue with the configurations or you can exit the wizard at any point from here.
We will continue to configure the Sample and Examples.
Step 1: Lets start the product configuration by clicking next.

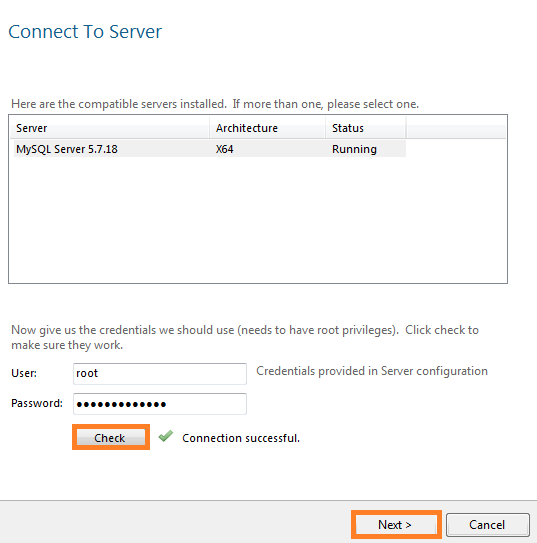
Step 2: Enter the credentials for the Root User, set up during the Server Configuration. Click Check. If the connection is successful a green tick will appear. Click Next.
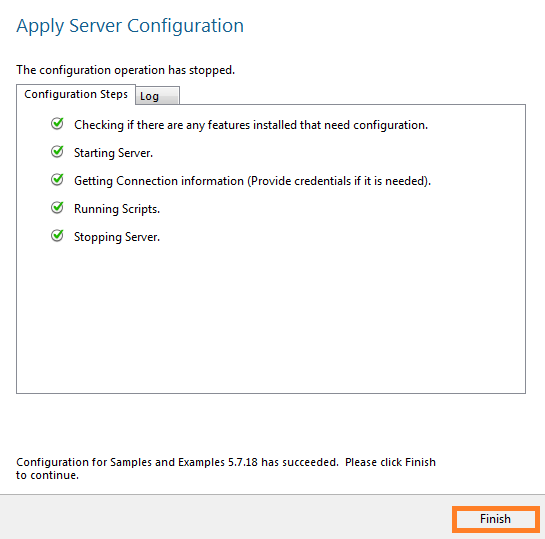
Step 3: Apply the server configuration by clicking Execute.
Step 4: Once the configuration is successful and has stopped, click Finish.
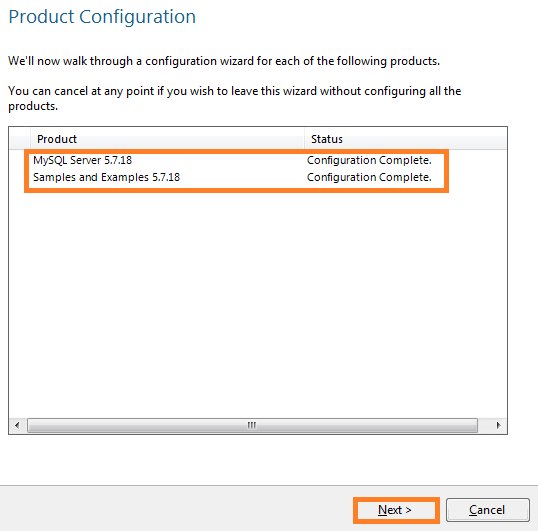
The Production configuration is now complete, click Next.
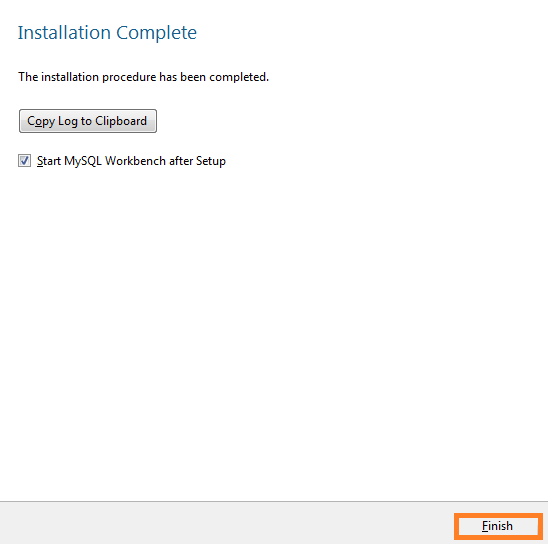
Step 4: The installation and configuration is now complete. Click Finish to close the Installer.
MySQL is now setup and ready to use. You can connect to your MySQL Database using the MySQL connector tool inside Warewolf.
You can read more about adding a new database source from our Knowledge base: Adding a New Database Source.
Warewolf has many different database connectors. For help with setting up a different database click on the links below.
Oracle – Coming Soon
PostgresSQL – Coming Soon


Great lesson. Look forward to Oracle and PostgreSQL connection!
– Klaudia