Warewolf connects to a number of Databases, like Oracle databases, which simplifies your integration processes. We noticed that some of these databases are pretty straight forward and easy to set up, while others take much more time and effort.
The Oracle Database 12c Enterprise Edition took 3 hours to download and 1 hour to Install. It is a large file and with high speed connectivity should not take that long to download, however you can expect delays and slowed overall processing of your PC.
Click on the Link below to go to the Oracle website, then come back here to follow our step by step guide to downloading and setting up your Oracle Database.
http://www.oracle.com/technetwork/indexes/downloads/index.html#database
You can select and download whichever database suites your needs. We’ll walk you through the Database 12c Enterprise Edition in this example.
1. Scroll through the web page and find the Database Category. Click on 12c Enterprise/Standard Edition.
2. First you will need to accept the License agreement. All of Oracle’s Database are available free to download, however full feature and functionality is only available on the Developer Licenses.
3. Select the Oracle Database 12c Release 2 for Windows x 64bit (Warewolf only runs on Windows 64 bit so this seems applicable.)
4. If you do not already have an Oracle account you will need to create one, if you have one already then you can Sign In.

5. Once you have signed in, the Database Zip file will automatically pop up on your screen, Click Save. Select the folder in which you wish to store this file and click Save.
6. Once the download has taken place (4 hours on a high-speed network connection) you’ll find a zip file is in your Downloads folder. Find the folder in which you saved your Oracle Database download and extract all the files.
7. Once you have extracted the files, you will need to find the setup file, double click on Database, and find the file called Setup. Click on this to start the installation process.
Installing the Oracle Database:
Step 1: Click Run
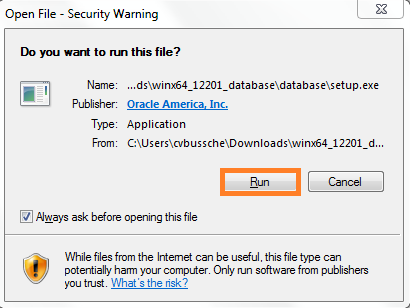
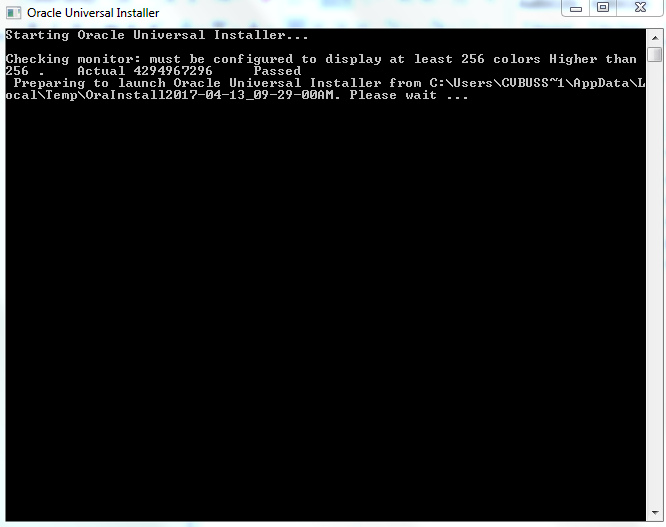
The following screen will pop- up before the installer starts.
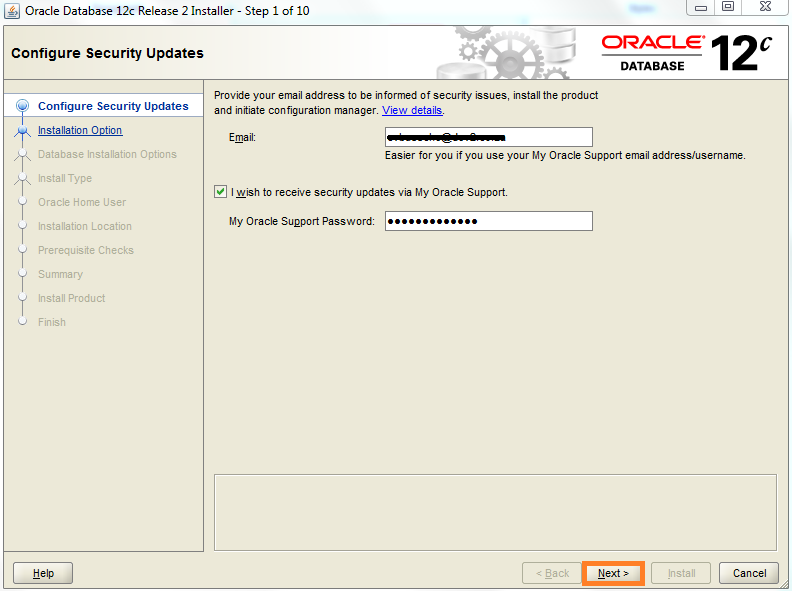
Step 2: The Installation will start by configuring Security Updates. Enter your email address in here if you wish to receive updates and notifications from Oracle, click Next. You will also receive notifications for security issues in your database configuration.
Step 3: Select your installation Option. We will be installing database software. Select this option and click Next.

Step 4: Select the type of database installation you want to perform and click Next.
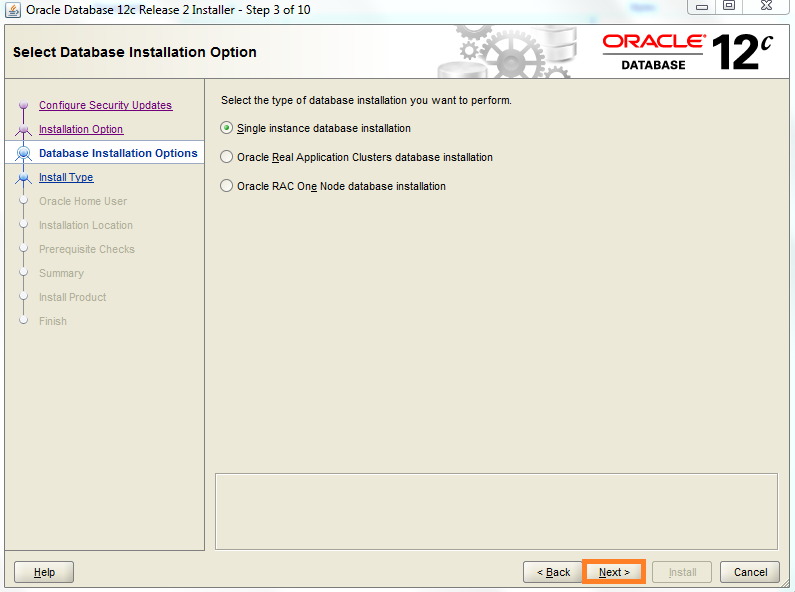
If you are not sure what type to select, read this Wikipedia article to get a better understanding. We have selected the single Instance database installation to keep things simple.
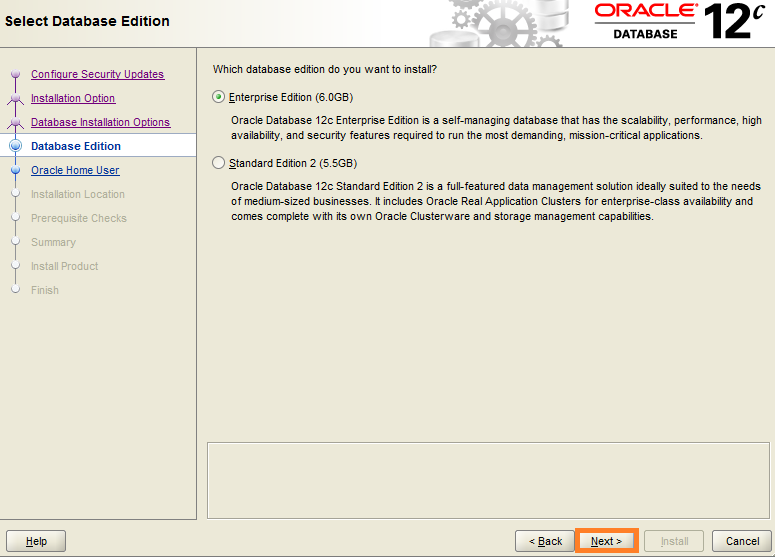
Step 5: Select your Database Edition and click Next.
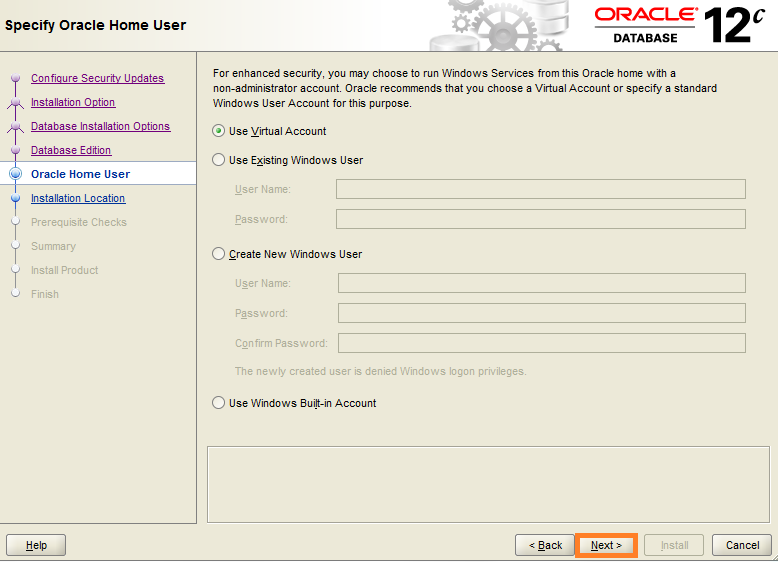
Step 6: Specify Oracle Home User. Oracle recommends that you choose a Virtual Account or specify a standard Windows User Account for this purpose. We have selected to use a Virtual Account. Click Next.
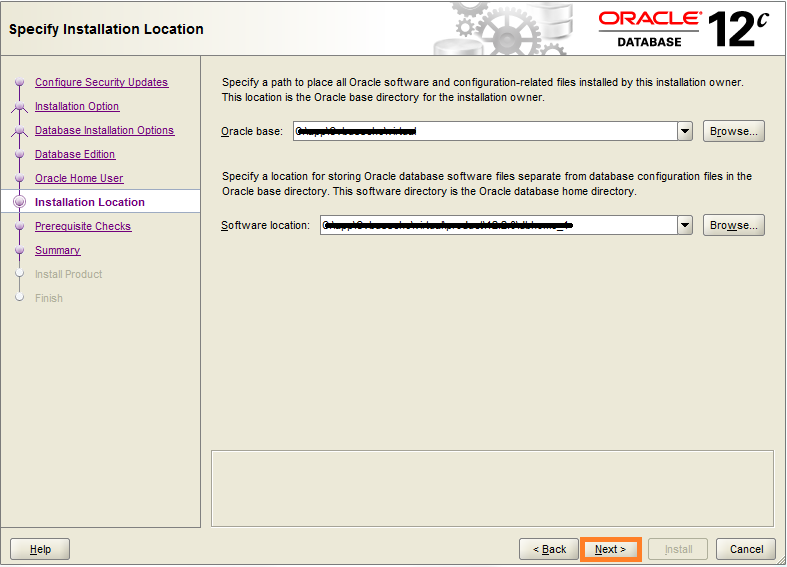
Step 7: Specify the installation location and click Next.
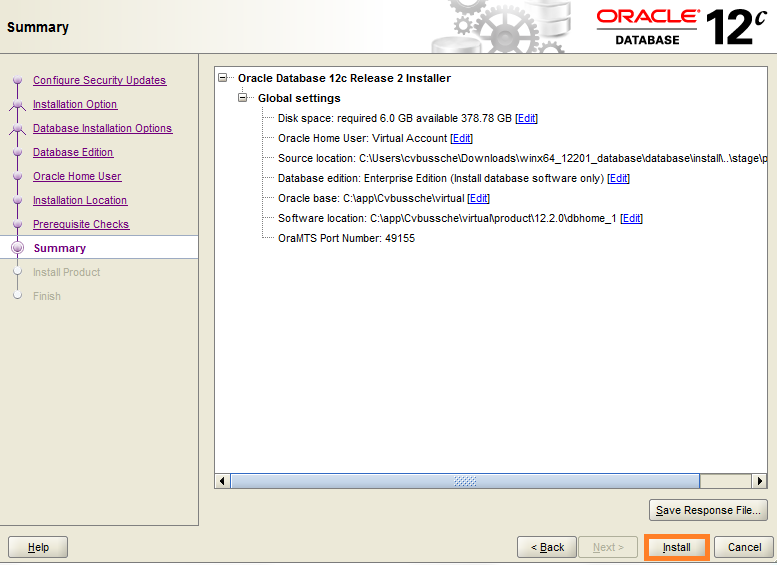
Verification that the target environment meets the minimum installation and configuration requirements will take place. When this has completed you can install.
Step 8: Click Install
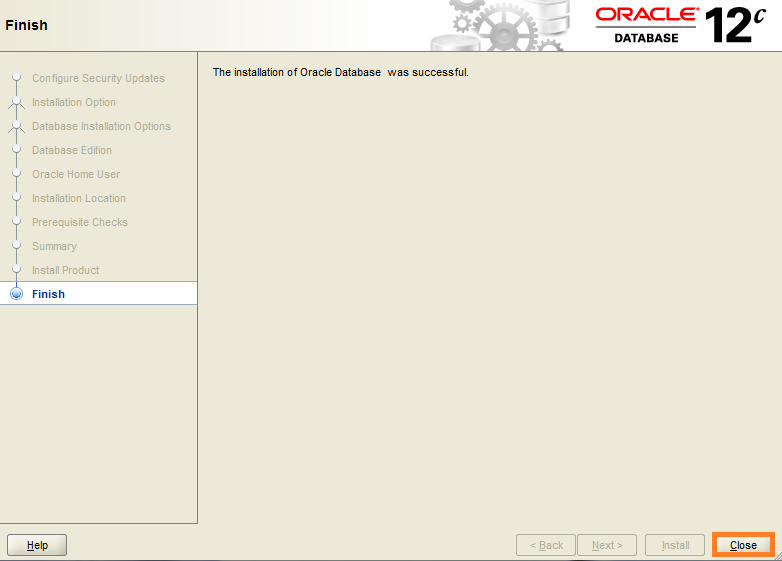
The installation can take a few minutes. When it has completed. Click Close.
You can now access this Database from inside Warewolf. Follow the Using Stored Procedures for more information on connecting to Databases. Warewolf Database connectors work the same for all databases, making Warewolf an efficient and easy integration solution.
Warewolf has many different database connectors. For help with setting up a different database click on the links below.
My SQL
Postgres SQL
ODBC
MS SQL Server Express


This is really good stuff for readers. Thanks for sharing informative article.I have read some other blog such as Koenig Solutions blog, Oracle.com Blog. All Stuff very useful for me.