Warewolf has a number of built-in Database Connectors. In this blog we will walk you through downloading and installing the PostgreSQL database and getting it set up and ready for integration with Warewolf.
PostgreSQL is a powerful open source database system, which runs on all major operating systems.
Follow this step by step guide to setup your PostgreSQL Database:
1. Click on the Link to Download the Postgres for Windows – https://www.postgresql.org/download/windows/
2. Click Download the Installer

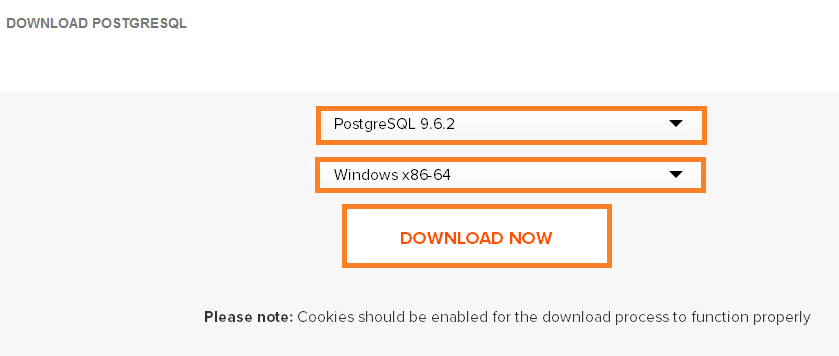
3. Select the Version and your Operating Systems (Windows x86-64) and click Download Now.
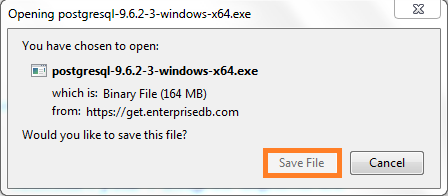
4. Click Save File, to start the download.
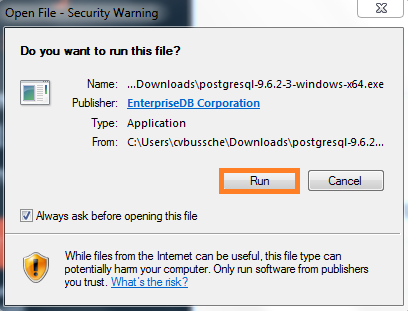
5. Once the file has downloaded, open it and, Click Run.
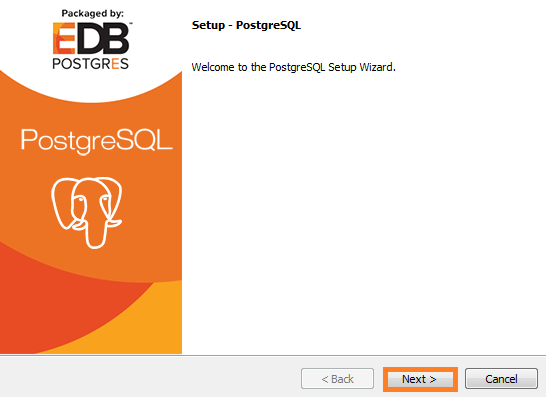
6. The Installer Setup will begin. Click Next.
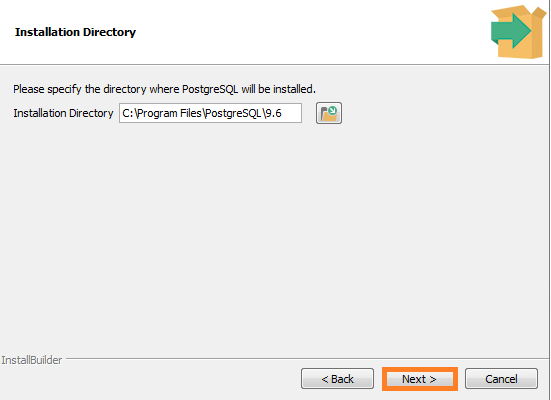
7. Select the Installation Directory and click Next.
8. Select the Data Directory. This is the location where your data will be stored. Click Next.

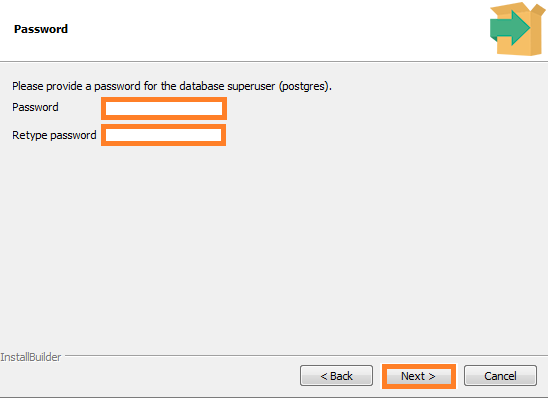
9. Provide a Password for the Database Superuser. Retype the Password and click Next.
10. Select the Port Number the server should listen on and click Next.

11. Select the Locale used by the new database cluster and click Next.

12. The setup is now complete and ready to install. Click Next to begin the installation.

13. Once the installation process has completed, click Finish.

You have successfully installed PostgreSQL. To complement your PostgreSQL, you can install Stack Builder and continue with the Wizard. For the purpose of Warewolf, we do not need to continue with the installation of the Stack Builder.
To integrate the data between your PostgreSQL Database and other systems, you can use the Warewolf PostgreSQL Database connector in Warewolf.
Browse our knowledge base for more information like adding a new database source in Warewolf.
Warewolf has many different database connectors. For help with setting up a different database click on the links below.


Leave A Comment?